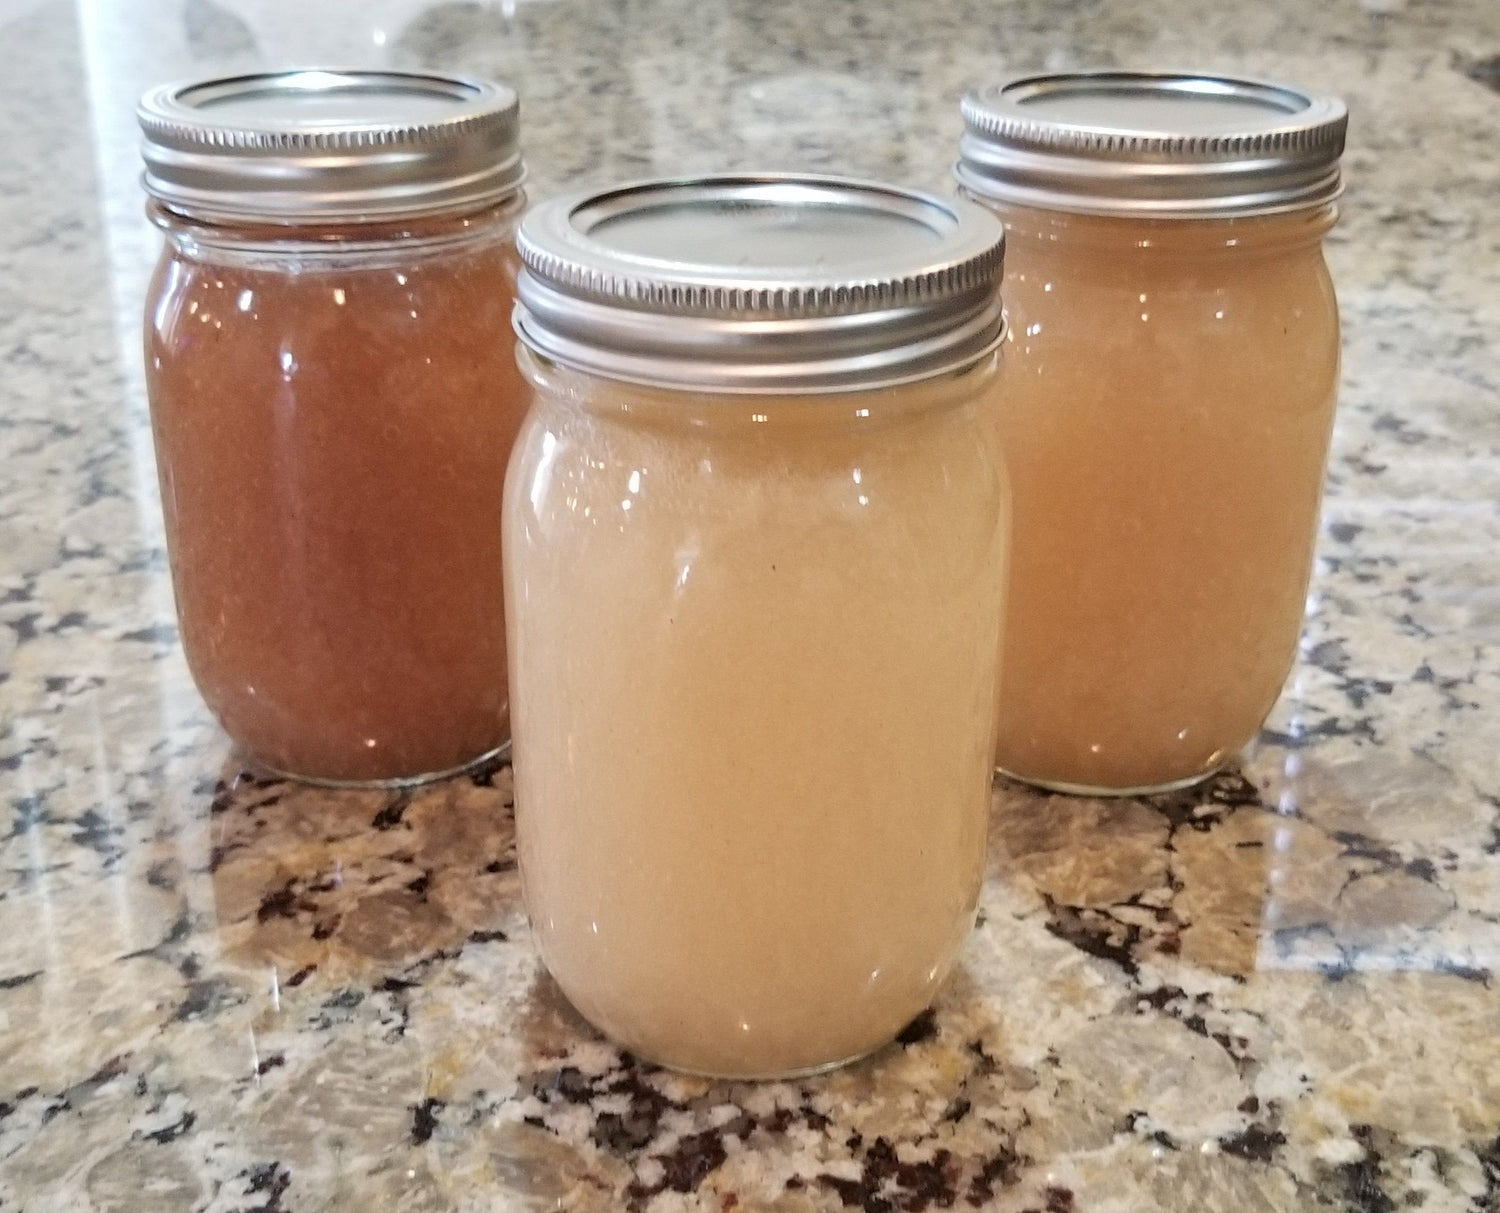
How To Make Sea Moss Gel
One of the reasons sea moss gel is so great is because it can be used in any recipe!
(Note: When cooking with sea moss gel do not boil it! It will ruin the nutrient content! If you wish to cook with sea moss gel it is better to mix it into your recipes after you are done cooking & allowing to dissolve.)

How To Make Gel
Step 1) Place your unpackaged sea moss in a metal or glass bowl (do not use plastic) with spring water covering the sea moss.
Step 2) Before you put your sea moss to soak in your spring water drain and rinse about 2-3 times with the spring water.
Step 3) Allow sea moss to soak in fridge covered in spring water for at least 14 hours. Do not soak for longer than 48 hours (2 days). This can cause sea moss to loose some of its nutritional value.
Step 4) After soaking sea moss, drain spring water from bowl and rinse off sea moss 3-4 times. While rinsing, separate sea moss with hands to try to remove any left over debris and large rocks that sea moss may be attached to. To remove rocks you can try to pick them off with your fingers when cleaning but it’s okay if little ones are left over (Remember: this is where the sea moss gets it’s nutrients.) The main point is to remove any large rocks, debris or dirt.
Step 5) When finished cleaning your sea moss you can place it into a blender with warm spring water just covering the amount of sea moss used. Blend for about 2-4 minutes depending on your blender type to get it into a smooth consistency. (It takes a little bit of blending to get the little pieces of sea moss fully blended.)
Step 6) When your sea moss has become a paste you can check the consistency by tasting or simply moving it with a spoon to determine whether or not you would like to add more warm spring water to your gel for a thinner consistency.
Step 7) If not intending to use right away place into a glass jar, seal tightly, and put into refrigerator for future use. It can be stored for up to 2-3 weeks. (Normally you’ll notice a smell when it’s starting to go bad.)
